

Save Money on Printer Cleaning – Learn How to Clean It Yourself
Taking your printer to a shop for cleaning can be such a hassle and a waste of precious time. But to prolong your device’s working life, you need to take it to a printer cleaning service at some point. After all, cleaning it is a better, cheaper option of having to buy a new one. But did you know that you don’t always need to spend a considerable amount of money for printer maintenance? Printer cleaning may seem like a task only professionals can do. But by learning how to clean some parts of your equipment, including the print cartridge, printer heads, paper rollers, and exterior casing, you’ll be able to keep it tiptop shape without spending a lot of cash.
Here are some easy tips on how to clean your printer on your own:
Step 1 – Gather all the necessary materials.
Collect all the materials needed for printer cleaning, like a cotton swab, computer vacuum cleaner, and a clean cloth. Avoid using alcohol to clean the interior because it might do harm on your printer. One most important reminder to keep in mind before cleaning, unplug your printer first.
Step 2 – Remove dust and clean the interior.
Start off by using a soft cloth to clean the interior screen. Avoid using other cleaning agents that may scratch or smear some parts. It is ideal to use vinegar or a water solution as a cleaner. Apply liquid to the cloth and start cleaning, avoid applying it to the machine. You can use a soft cloth to clean the rubber blades located in the ink cartridge.
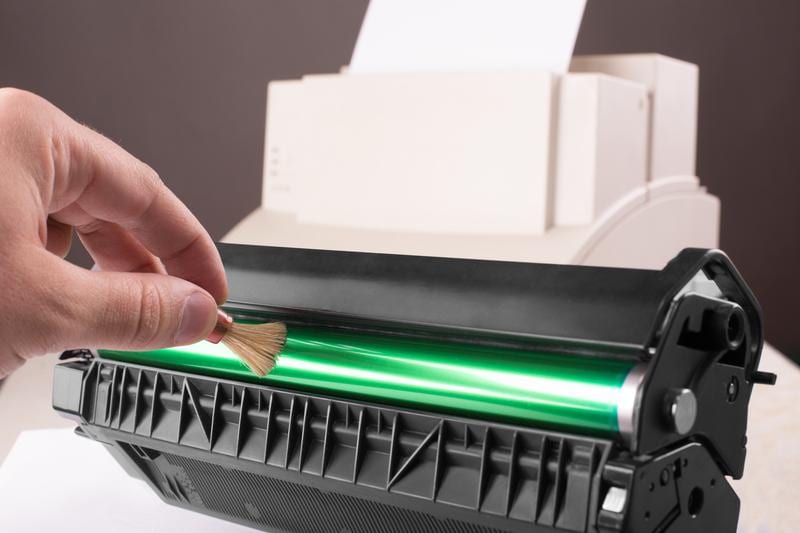
Step 3 – Clean the paper rolls and print cartridge assembly.
Remove paper from the tray and then, the tray itself. You can remove the print cartridge assembly, depending on the kind of printer you have. Brush, wipe, and vacuum to remove accumulated dust and debris inside the paper roll. Remember to use a recommended vacuum to prevent any damage. The computer vacuum can also be used to clean out the fan to prevent overheating. Take out the ink cartridge from the assembly to wipe the cavity clean with a lint-free cloth to avoid damaging the electronic components.
Step 4 – Clean the printhead.
If you start to notice faint or white lines on your document, it is a sign that your printer head needs cleaning. Inkjet and laser printers come with a built-in automatic cleaning utility that cleans printer heads automatically. Find the “clean” function to launch the programmed cleaning cycle. It will print out a test page to check out its cleanliness. This may take several tries until the document is completely clean. Refer to your printing manual on how to use the automatic cleaning utility.
If your printer needs professional maintenance, you can have fast, reliable, and quality service at your door with Printer Repairs. We are open from Mondays to Fridays at 8:00PM – 5:00PM at 2/391 Balmain Rd Sydney Lilyfield NSW 2040. Get in touch with us at (02) 9684 0044.

