How to Prepare Images for Large-Format Printing
Thanks to large-format printing, your business can create detailed architectural prints and impactful visuals for marketing campaigns, product launches, and branding initiatives. However, simply scaling up an image isn’t enough. Proper preparation is needed to ensure your final print retains quality and sharpness. With that, we’ve written a five-step guide on how to prepare images for large-format printing.
Step #1: Prepare Images with a Viewing Distance in Mind
When producing large-scale prints for a billboard, you wouldn’t benefit from a pixelated, low-quality, and unprofessional print that is difficult to see from a distance. Keep in mind that a billboard viewed from a highway has different requirements than a poster seen up close. So, the first step is to optimise your image for the desired viewing distance, which requires understanding resolution and DPI.
Resolution is essentially the number of pixels in an image. So, higher resolution means more detail. On the other hand, DPI (dots per inch) refers to the number of printed dots per inch. With a higher DPI, you’ll likely produce sharper prints. However, it’s not always necessary to have the highest possible DPI, especially when viewed from a distance. The key is to strike a balance between image size and viewing distance.
Tips for Optimising Your Images for Large-Format Printing
- Decide on the intended viewing distance. Will the wide-format prints be viewed up close (e.g., a trade show banner) or from afar (e.g., a billboard)?
- Calculate the required resolution. Here’s a general rule of thumb: go for at least 150 DPI at the final print size for images that will be viewed from a distance and 300 DPI for those expected to be viewed up close.
- Use scaling tools wisely. Avoid simply enlarging a small image. Instead, consider using specialised upscaling software if you need a large image.
Step #2: Calibrate Your Computer Monitor to Industry Standards
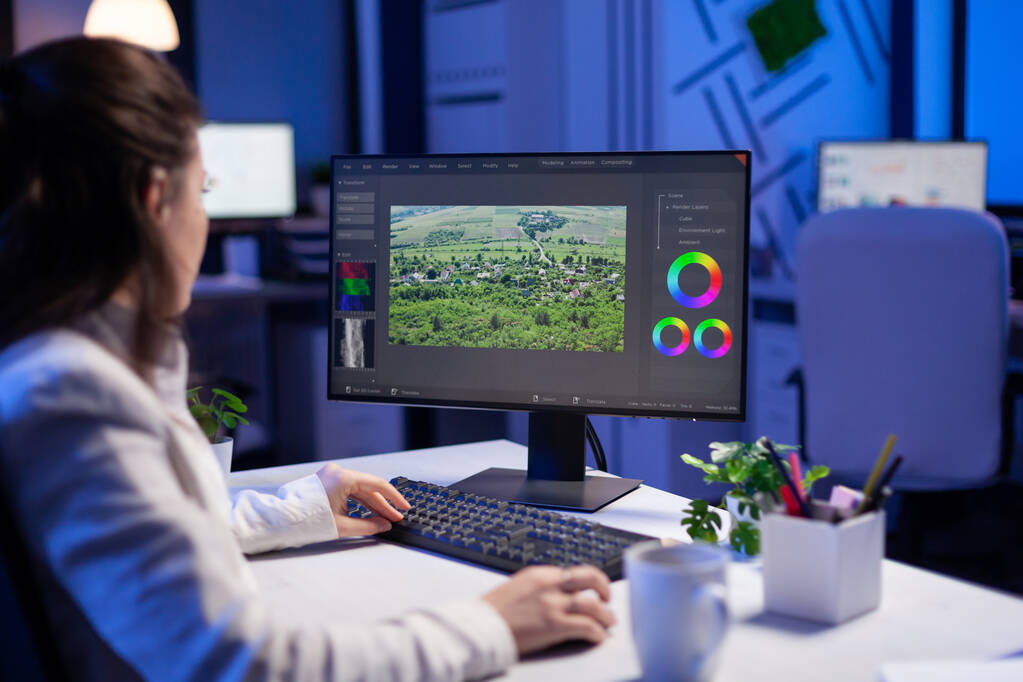
Screen calibration is an often-overlooked yet essential step in preparing images for print, especially when you need to produce large photo prints or posters. Never neglect the fact that what you see on your screen might not be an accurate representation of how the image would look when printed. Screen calibration also helps guarantee that all team members work with the same visual standards.
How to Calibrate Your Screens to Industry Standards
- Follow industry standards. Calibrate your computer monitor or laptop screen to industry standards like sRGB or Adobe RGB.
- Utilise a hardware calibrator. Devices like the X-Rite i1Display Pro or Datacolor SpyderX Pro are recommended for accurate screen or monitor calibration.
- Recalibrate your screens regularly. Monitors can drift over time, so be sure to recalibrate at least once a month to maintain image and print accuracy.
Step #3: Take Advantage of Photoshop’s Soft-Proofing Feature
Photoshop’s incredible soft-proofing feature enables you to simulate how your image will look when printed, taking into account the printer’s colour profile and paper type. More importantly, it helps you identify potential time-intensive and costly printing errors before sending your final file to your go-to wide-format printer.
How to Use Soft-Proofing
- Go to View > Proof Setup > Custom
- Select the printer’s colour profile.
- Pick the rendering intent (for example, perceptual or relative colourimetric).
- Check the options “Simulate Black Ink” and “Simulate Paper Color.”
- Adjust your image’s brightness, contrast, or colour to compensate for printing limitations.

Step #4: Convert Fonts to Vectors
Does your design include text? You may have to convert fonts to vectors. Otherwise, if the printer fails to recognise the fonts you’ve used, it may automatically replace them with a default font that doesn’t match your vision. Also, vectors can be scaled infinitely without losing quality. Simply put, converting fonts to vectors helps you achieve a consistent look for all the text elements regardless of the printing device.
How to Convert Fonts to Vectors
- In Adobe Illustrator: Select the text and go to Type > Create Outlines.
- In Adobe Photoshop: Rasterize the text layer. (Note: This makes the text uneditable, so save a copy first.)
Step #5: Save the Image File in the Correct Format
The final step is saving your file in the correct format before sending it for large-format printing. Here are the recommended file formats:
- TIFF (Tagged Image File Format): A lossless format that retains high quality and is ideal for photographs and complex graphics.
- EPS (Encapsulated PostScript): A vector format best used for logos and illustrations with text.
- PDF (Portable Document Format): A versatile format that can handle vector and raster graphics, making it a good choice for complex layouts.
Tips for Saving Your Image Files for Wide-Format Printing
- Check printer specifications. Always check with your printing service or in-house big-format printing operations for specific file format, resolution, and colour profile requirements.
- Compress wisely. If compressing your file, use lossless compression methods to avoid reducing image quality.
- Include bleed. If your design extends to the edge of the paper, include a bleed area (typically 0.125 to 0.25 inches) to ensure no white edges after trimming.
Summing It Up
By following these five steps, you can confidently prepare your images and files for large-format printing, ensuring high-quality results that make a lasting impression.
Do you have more questions about large-format printing? Feel free to check out our blog. Also, should you face issues with your wide-format printers, we’re here to help. Our team can provide same-day large-format printer repairs and maintenance services across Sydney and surrounding areas. Get in touch with us to learn more.


