

Printer Feeder Not Working? 9 Troubleshooting Tips for You
A printer that refuses to pull paper through the feeder can bring everything to a halt—whether it’s a home office, a classroom, or a busy workplace.
If you find your printer feeder not working, the good news is that most feeder issues come down to something small: dust in the tray, worn rollers, misaligned paper, or settings that have quietly changed. In fact, issues related to the paper path, especially frequent paper jams, account for almost 50% of all service calls. Yet, with the right checks, you can usually get things moving again without calling a technician straight away.
Here are nine practical fixes to try on.
1. Start with a Full Restart
A proper reset clears temporary faults that build up after long periods of use or unexpected interruptions. Turn the printer off, unplug it, and leave it for at least 30 seconds. When you switch it back on, the feeder often resets itself along with the rest of the internal components.
It sounds basic, but this single step fixes a surprising number of cases where printers refuse to pick up paper or behave unpredictably after a jam or power dropout.
2. Check the Paper Type and Paper Quality
If a full reset doesn’t work, the paper itself is the next suspect.
Feeders are sensitive to the condition of the paper. If the sheets feel slightly damp from humidity, or the edges have curled just a little, the rollers may lose their grip.
Review the following:
- Is the paper fresh and stored in a dry place?
- Are the edges clean and flat?
- Is it the correct weight for your printer? (Most models accept 80–90 gsm as the standard range.)
- Are you mixing different paper types in the same tray?
Even one damaged sheet placed on top of the stack can block the feeder. Replace the whole batch with fresh paper if you’re unsure.
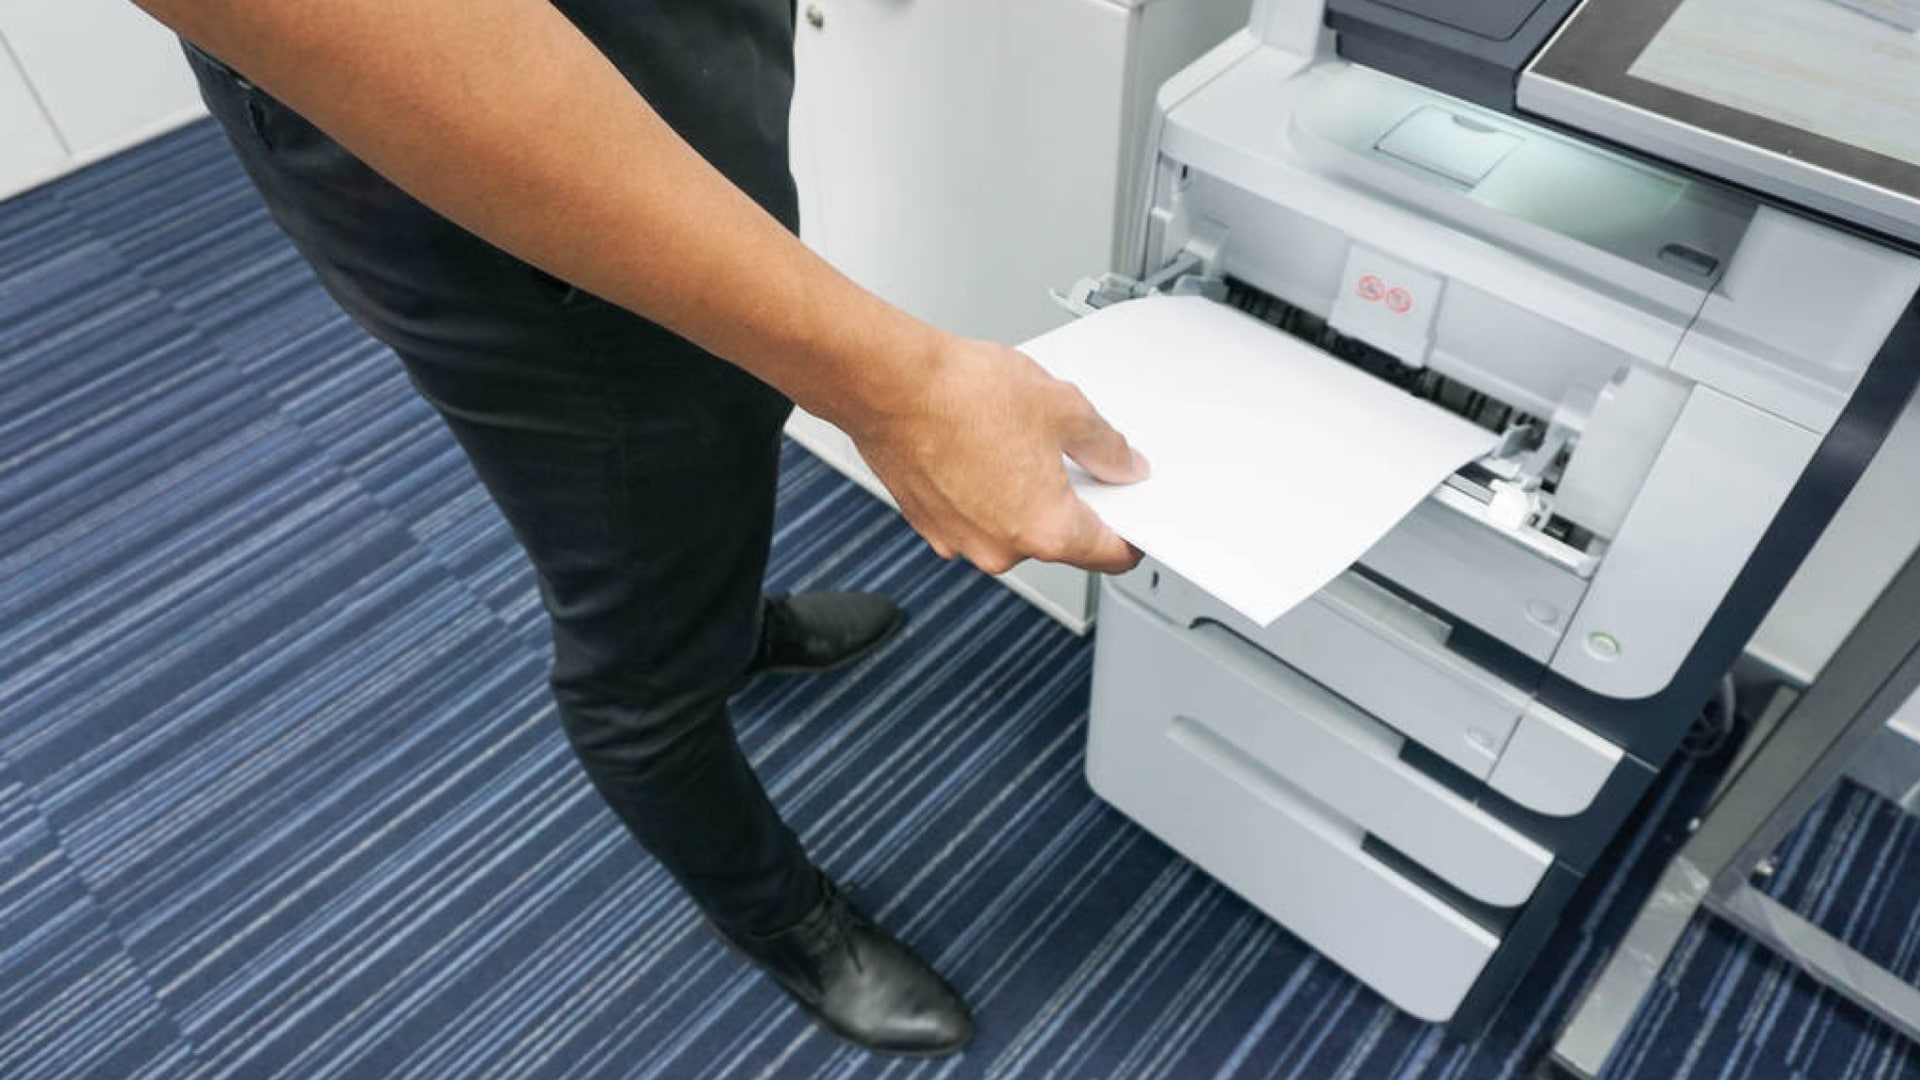
3. Reload and Align the Paper Stack
A misaligned stack is one of the most common reasons for a feed failure. Pull the tray out completely and take the paper out. Next, tap the stack on a flat surface to square the edges, then place it back in the tray without overfilling it.
Make sure the side guides sit snugly against the paper—not too tight, not too loose. If the guides are open even slightly wider than the stack, the paper can shift during feeding.
Also, confirm that no scraps or paper dust are hiding at the back of the tray. Even small fragments can block the mechanism.
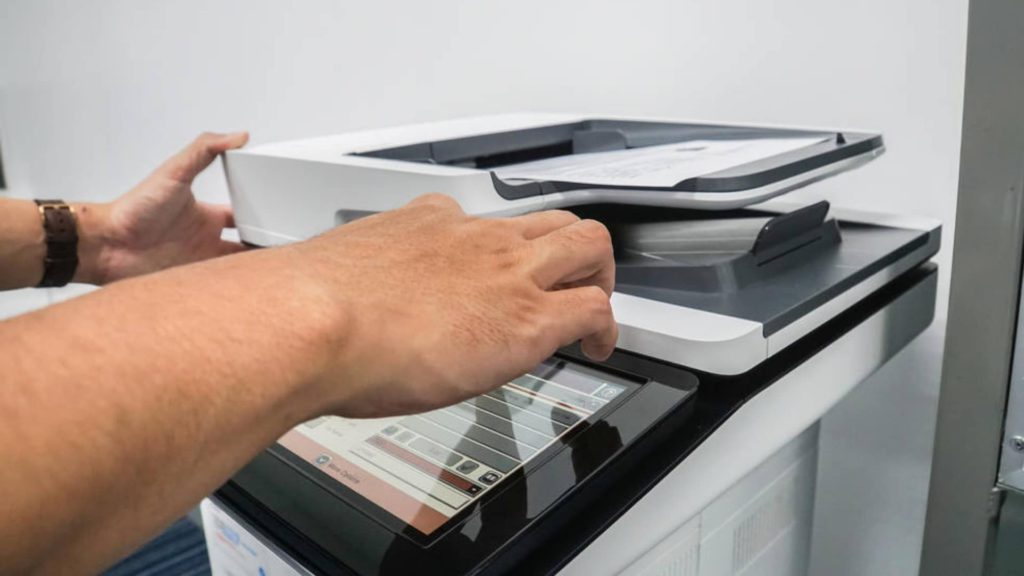
4. Clean the Feed Rollers
This is a crucial step if you find your document feeder not working.
Rollers lose their grip over time, especially in dusty environments. When they can’t grab the sheet, the printer either tries repeatedly or gives up and shows a “no paper” or “paper feed” error. If your Epson printer feeder is not working, start here, as Epson rollers are highly sensitive to fine paper dust buildup.
You can clean the rollers with:
- a lint-free cloth
- warm water (nothing soapy)
- gentle pressure — no scrubbing
Rotate the rollers manually while wiping them down.
If your printer has a built-in “roller cleaning” option in its maintenance menu, run that process as well. It helps remove the fine powder from paper that gradually coats the rubber.
When rollers are badly worn or cracked, cleaning won’t solve it. Replacement may be needed, which is where a technician becomes useful.
5. Remove Any Hidden Paper Jams
Even after a jam has been cleared, tiny pieces of paper can remain stuck deep inside the path. These fragments stop the next sheet from moving forward. If your Brother printer document feeder is not working, check carefully: paper fragments are often the cause of these specific ADF failures.
Turn the printer off, open all access points, and use a flashlight to look through the feed area. Be sure to inspect the:
- rear access door
- duplexer (if your model has one)
- paper path behind the tray
- front internal rollers
Pull out any fragments gently to avoid damaging the sensors. Avoid using anything sharp inside the machine—plastic tweezers or your fingers are safer.
6. Review Printer Settings on Your Computer
Sometimes, the feeder printer problem is the software.
If the driver thinks you’re printing on thick labels or glossy photo paper, it adjusts how hard the rollers push. The result? Sheets that never get picked up. So, review your print settings for:
- paper size
- paper type
- tray selection
- print mode (draft, normal, photo, etc.)
Software updates can also change settings without you noticing. Resetting to the printer’s default profile often clears the mismatch.
7. Check for Firmware Updates
An update can be essential when a Canon automatic document feeder is not working and is preventing critical scanning or copying tasks.
Many printer owners skip firmware updates entirely, usually because they seem technical or pointless. But some updates actually refine roller pressure, fix misreads, and prevent jam loops.
Visit the manufacturer’s support page or run the built-in update tool (if your printer has one). An update can help the printer handle thicker paper more reliably, recognise jam conditions earlier, and run cleaner feed cycles.
8. Look for Obstructions Around the Feeder
In some cases, the problem isn’t internal at all. External obstructions can interfere with the movement of the tray or the angle of the paper path. This is a common feeder printer problem after a machine has been moved or repositioned.
Ensure that:
- The tray slides freely without sticking.
- Nothing underneath the printer is pushing against the tray.
- The printer sits on a stable, flat surface.
- No cables are pulling against the back of the unit.
- No foreign objects (pens, clips, labels) have fallen into the tray area.
If you’ve recently moved the printer, something may have shifted out of place without you noticing.
9. Consider Wear-and-Tear or Part Failure
Feed rollers, separation pads, gears, and sensors eventually wear down, especially in busy offices where the machine runs all day. In a high-volume office environment, the average lifespan of paper feed rollers is approximately 50,000 to 150,000 pages before the rubber starts to lose its essential grip and requires replacement.
When these parts start to fail, symptoms include:
- The printer is pulling multiple sheets.
- The printer is picking nothing at all.
- Loud clicking near the feeder
- Repeated jams in the same spot
- Slipping noises when the roller turns
If you’ve ticked off every earlier step and the feeder still behaves inconsistently, it’s likely a hardware issue rather than a setup issue. At this point, calling a professional repair service is usually the fastest and most cost-effective option.
When DIY Fixes Aren’t Enough: Printer Repair Centre
Minor feeder problems can snowball quickly. A bit of dust, a few curled sheets—suddenly the printer refuses to cooperate. Catching these issues early is the best move, but sometimes the fault lies deeper inside the machine.
If you’ve tried the steps above and the printer still jams or refuses to pick up paper, a technician can diagnose the exact point of failure. They’ll look at the feed assembly, the internal sensors, the rollers, and all the other bits most of us never touch.
For anyone in Sydney, Australia, Printer Repair Centre offers on-site help, replacement parts, and full maintenance for both home and office printers. Instead of wrestling with the same jam for the third day in a row, you can get someone who knows the mechanics inside out.
Ready to get it sorted? Reach out today and book a service!

